How to use these cutting worksheets
Cutting with scissors builds the hand strength and control a child needs to hold a pencil. Go in order: the pages start with straight lines and end with a spiral. One page a day is plenty at three or four.
- **Straight lines first:** cut from the edge of the paper to the picture
- **Slanted lines:** the same, with a gentle slope
- **Zigzags, waves, hills and steps:** each one teaches a new turn of the hand
- **Circles:** color the pictures, then cut around them
- **The spiral:** keep turning the paper, all the way to the middle
Before you start
- Use child-safe scissors with rounded tips, and stay close by.
- **Thumbs up:** the thumb goes in the small hole, on top; the paper hand holds the page and turns it.
- Print on one side of the paper. Thicker paper or card stock is easier for small hands.
- Snipping a strip of paper into pieces is a fine first step for a child who has never used scissors.
When is a child ready?
Most children can snip paper around age 2½ to 3, cut along a straight line by 3 to 4, and cut a curve or a circle by 4 to 5. Every child gets there at their own pace — wobbly cuts are how straight cuts begin.
US Letter or A4
The download comes in both sizes: US Letter for the United States and Canada, A4 for the UK, Europe, Australia and most other countries.
Want the whole workbook?
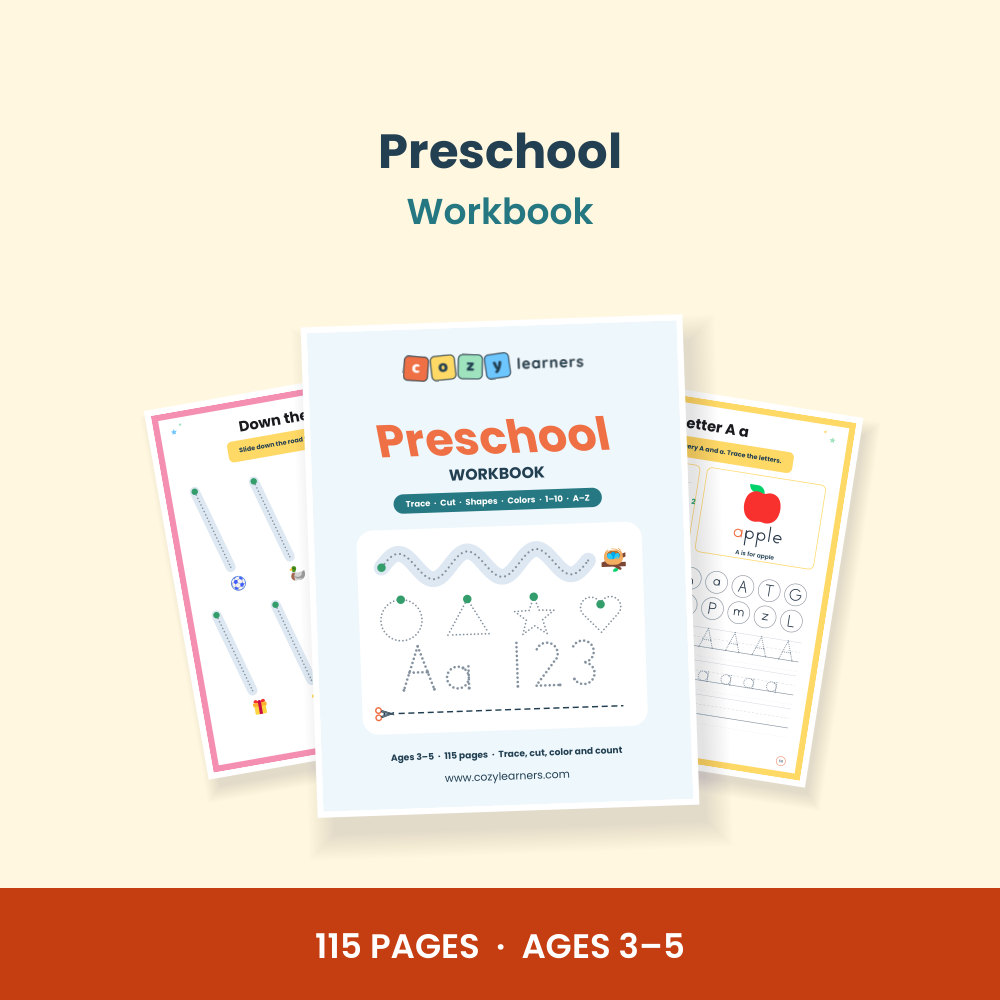
These pages come straight from our Preschool Workbook: 115 pages of tracing paths, 13 cutting pages, shapes, colors, numbers 1 to 10, every letter from A to Z, patterns and mazes, for ages 3 to 5.