"How to Teach Handwriting in Kindergarten (A Simple Order That Works)"
How to teach handwriting to a 4- to 6-year-old at home — the pencil grip, the order that works (lines, capitals, lowercase, words), ten minutes a day, and free printable writing worksheets.
By Cozy Learners · · 4 min read
Handwriting is not about perfect letters. In kindergarten, the goal is simpler: a comfortable grip, letters that start in the right place, and a child who likes to write. Neat comes later, on its own, once the habits are right.
Here is an order that works at home, ten minutes a day.
1. Start with the grip
Show your child how to pinch the pencil between the thumb and the pointer finger, with the pencil resting on the middle finger. Short pencils and broken crayons help: a small tool leaves room for only the right fingers.
If the grip is a fist, don't correct it all day long. Show it again at the start of each session, and let practice do the rest.
2. Lines and shapes before letters
Every letter is made of a few simple strokes: a line down, a line across, a slant, a curve, a circle. Before letters, practice these on their own — lines down, lines across, slanted lines, crosses, curves, waves, zigzags, loops and circles. A child who can draw a straight line from top to bottom and a round circle already has most of the alphabet.
Our free pre-writing worksheets give you ten pages of these strokes to trace.
3. Capitals first
Capital letters are easier for small hands: they are all the same height, and most are made of straight lines. Teach them before lowercase.
Two rules matter more than neatness:
- Start at the top. Almost every letter starts at the top and goes down.
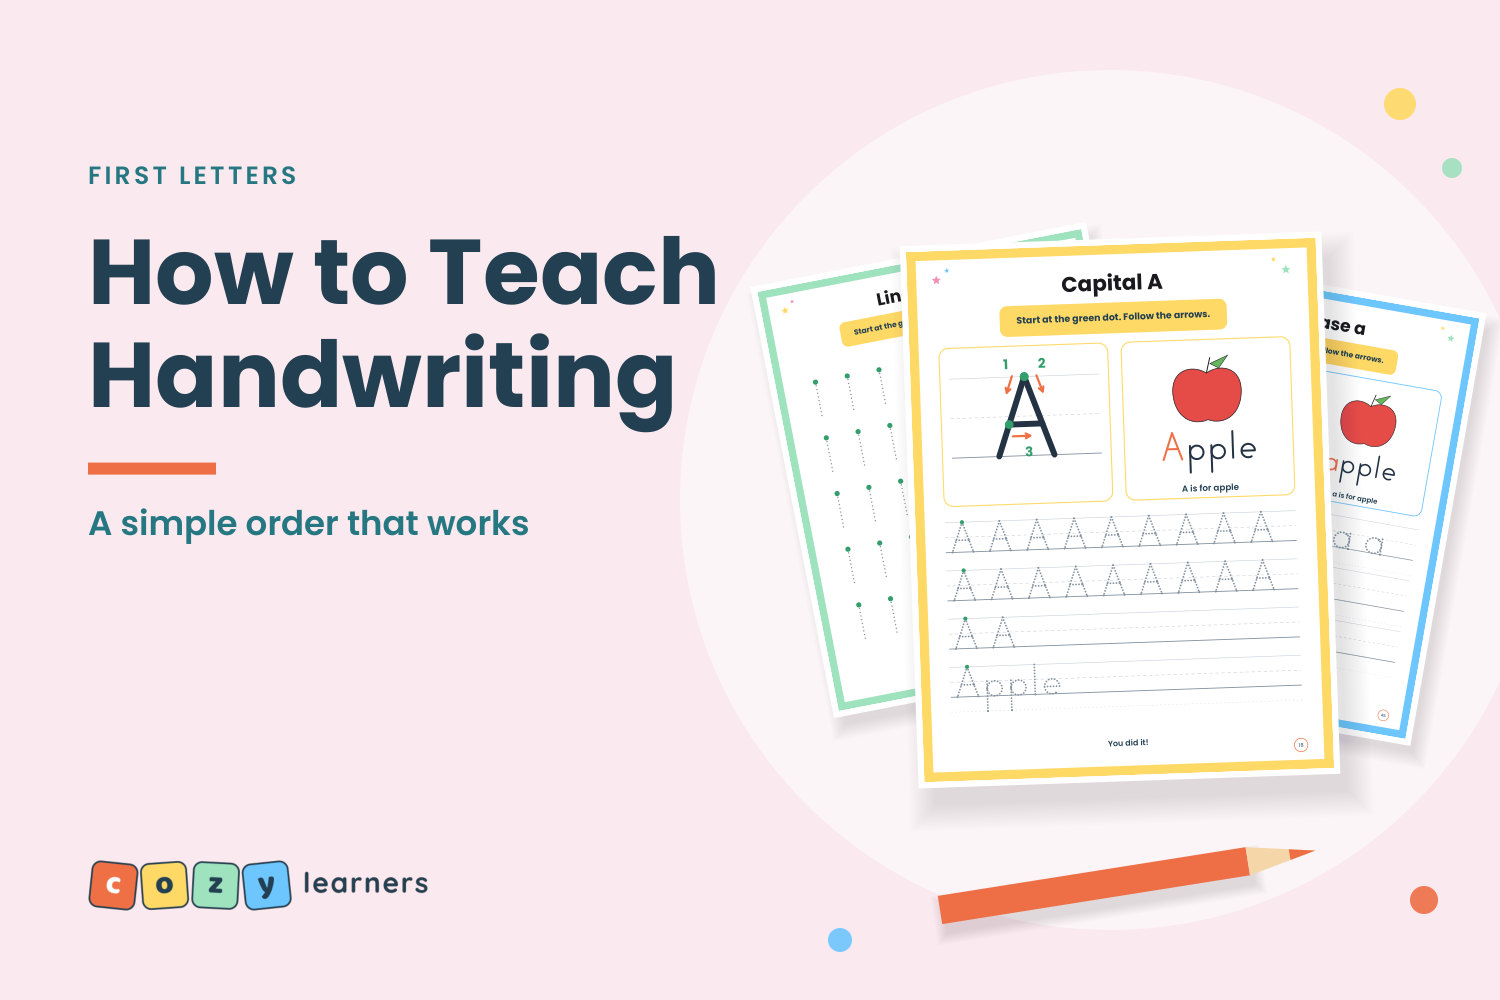
- Same start, every time. A letter always starts at the same place and moves the same way. A green dot for the start and an arrow for the direction make this easy to see.
4. Then lowercase
Lowercase letters are harder: some are tall (b, d, h), some are small (a, c, e), and some hang below the line (g, j, p, q, y). Use paper with three lines — a top line, a dashed middle line and a bottom line — so your child can see where each letter stops.
Teach letters that share a stroke together: c, o, a, d and g all start with the same curve.
5. Numbers, words and their name
Once letters are familiar, write things that mean something: numbers from 0 to 20, color words, the days of the week — and above all, their own name. A child who can write their name is proud of it, and will want to write it everywhere.
Our free name tracing generator makes a page with your child's name in a few seconds.
6. Ten minutes a day is enough
- Short and often beats long. Ten minutes, then stop while it's still fun.
- Big before small. Trace a letter in the air, on your child's back, in a tray of salt or sand — then on paper.
- Praise the best letter on the line, not the wobbly ones. "That B has a perfect start!" goes further than a correction.
Which style of letters?
Most US schools teach a simple print called ball-and-stick: letters made of straight lines and circles. If your child will go to school later, it's a good idea to use the same style at home.
Free handwriting worksheets
- Alphabet tracing worksheets A to Z — a row for each letter, capitals and lowercase.
- Pre-writing worksheets — lines and curves before letters.
- Number tracing 0 to 20.
The whole year in one workbook
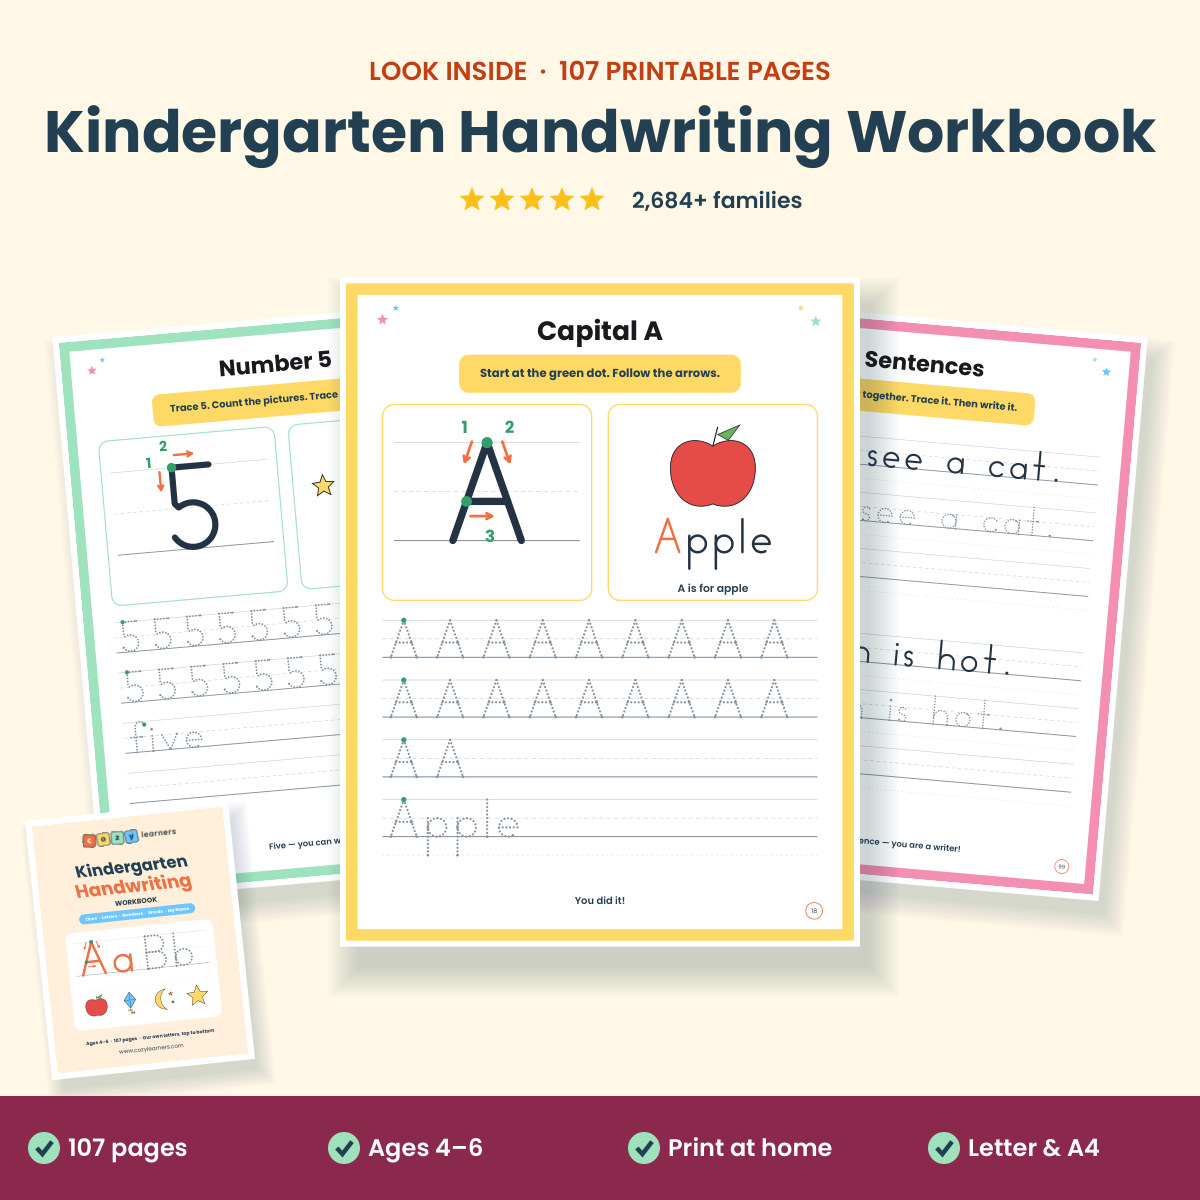
Our Kindergarten Handwriting Workbook follows this exact order in 107 pages: pre-writing lines and shapes, a page for every capital and every lowercase letter — with a green start dot, a number and an arrow for each line — numbers 0 to 20, color words, days and months, sentences, and pages to write their own name. Simple ball-and-stick print, one page a day.
Free printable
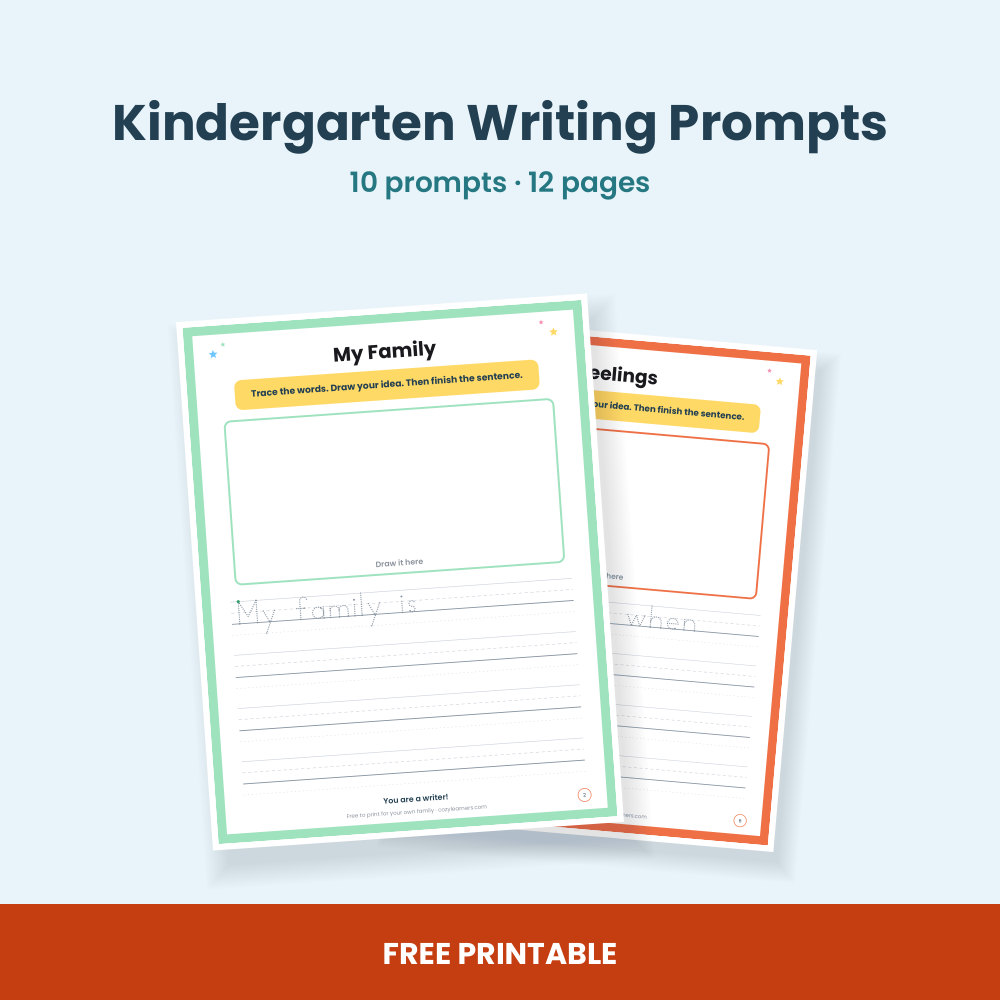
Kindergarten Writing Prompts
10 kindergarten writing prompts: each page has a sentence starter to trace, a big box to draw the idea, and writing lines to finish the sentence — My Family, Animals, When I Grow Up and more.